-

Collaborating in Responsum
Responsum enables you to closely collaborate with your business stakeholders. These stakeholders can include privacy managers, system owners, suppliers, and others who may contribute to or benefit from the information documented in Responsum.
There are several ways to collaborate through Responsum. In this article, we will discuss two of them: using the comment feature and sharing items.
1. Using the Comment Feature
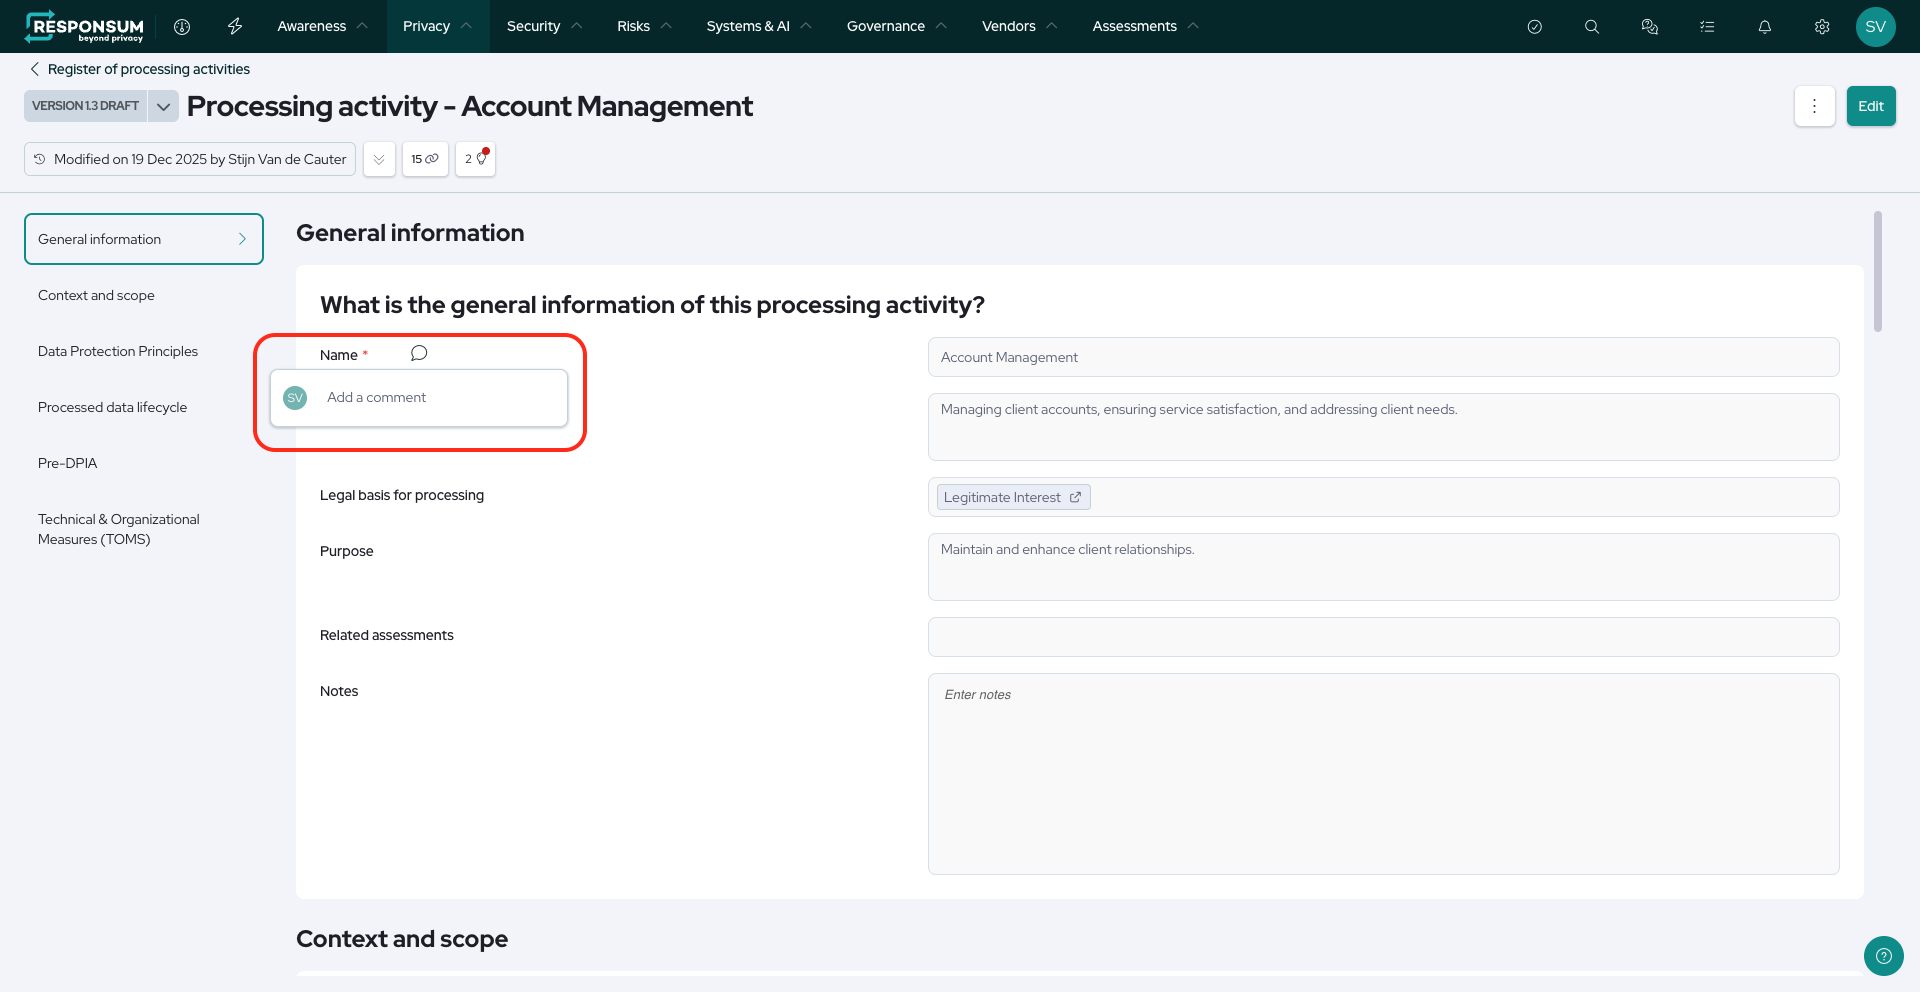
When you hover over any field or section name in Responsum, a text balloon icon will appear next to it. Clicking this icon allows you to add a comment.
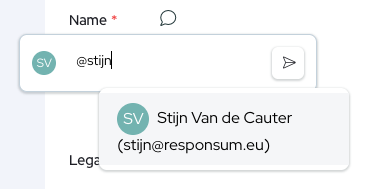
Comments can contain regular text to provide additional information about the field. You can also type “@” in the comment field to tag a user. Tagging a user automatically grants them the Collaborator permission level for the item that contains the field. (See the video on permissions.)
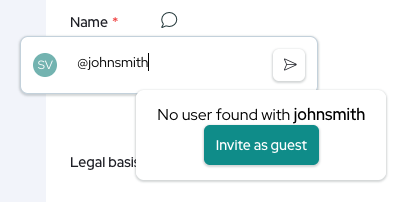
While you can only tag users already registered in Responsum, it is also possible to add guest users on the fly, allowing you to easily tag individuals who don’t yet have access. (See the video on guest users.) When a user is tagged, they will receive an email notification with a link to the comment.
Once a comment has been placed, the text balloon icon turns yellow and remains visible. Clicking it will show the comment. You can reply using the Reply field, mark the comment as resolved by clicking the checkmark icon, or convert it into a task by clicking the checklist icon.
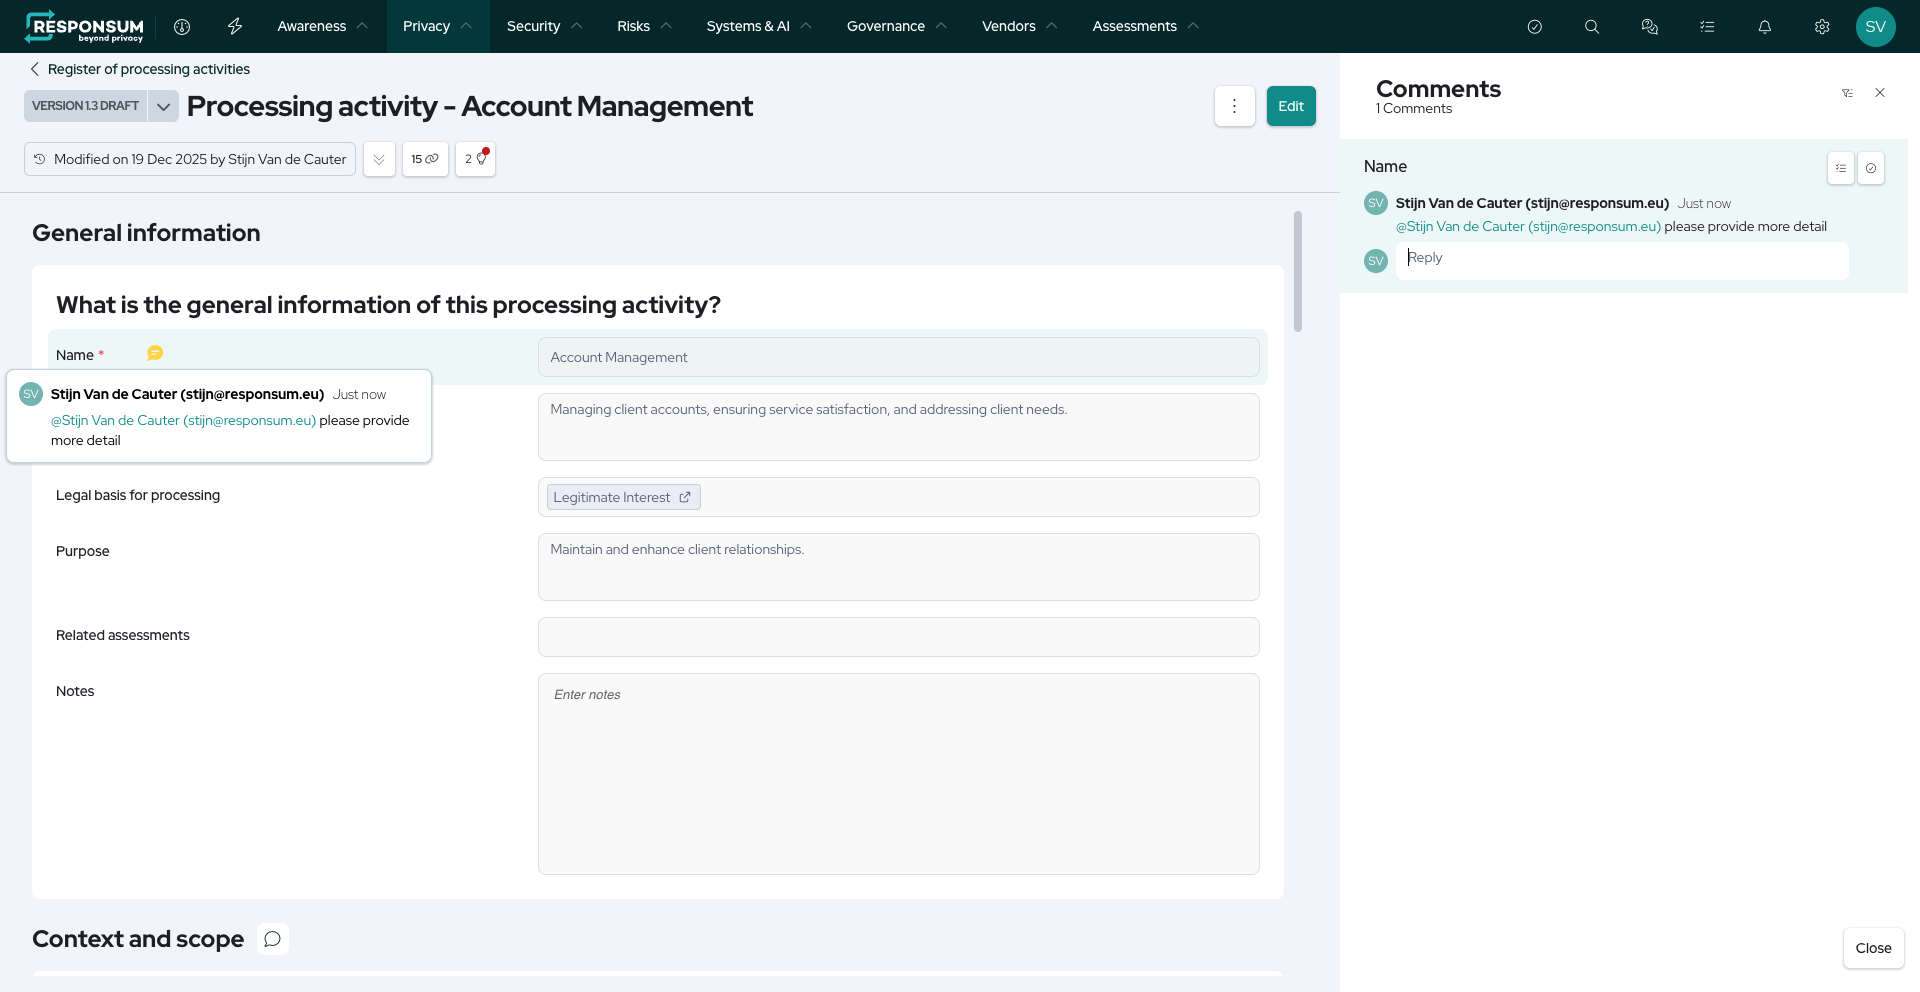
When converting a comment into a task, a task creation window will open with some fields pre-filled based on the comment and its associated item. Don’t forget to click Create to save the task to your task board.
2. Sharing Items
When viewing an item in Responsum, a Share button becomes available when you clock on th three dots next to the Edit button.
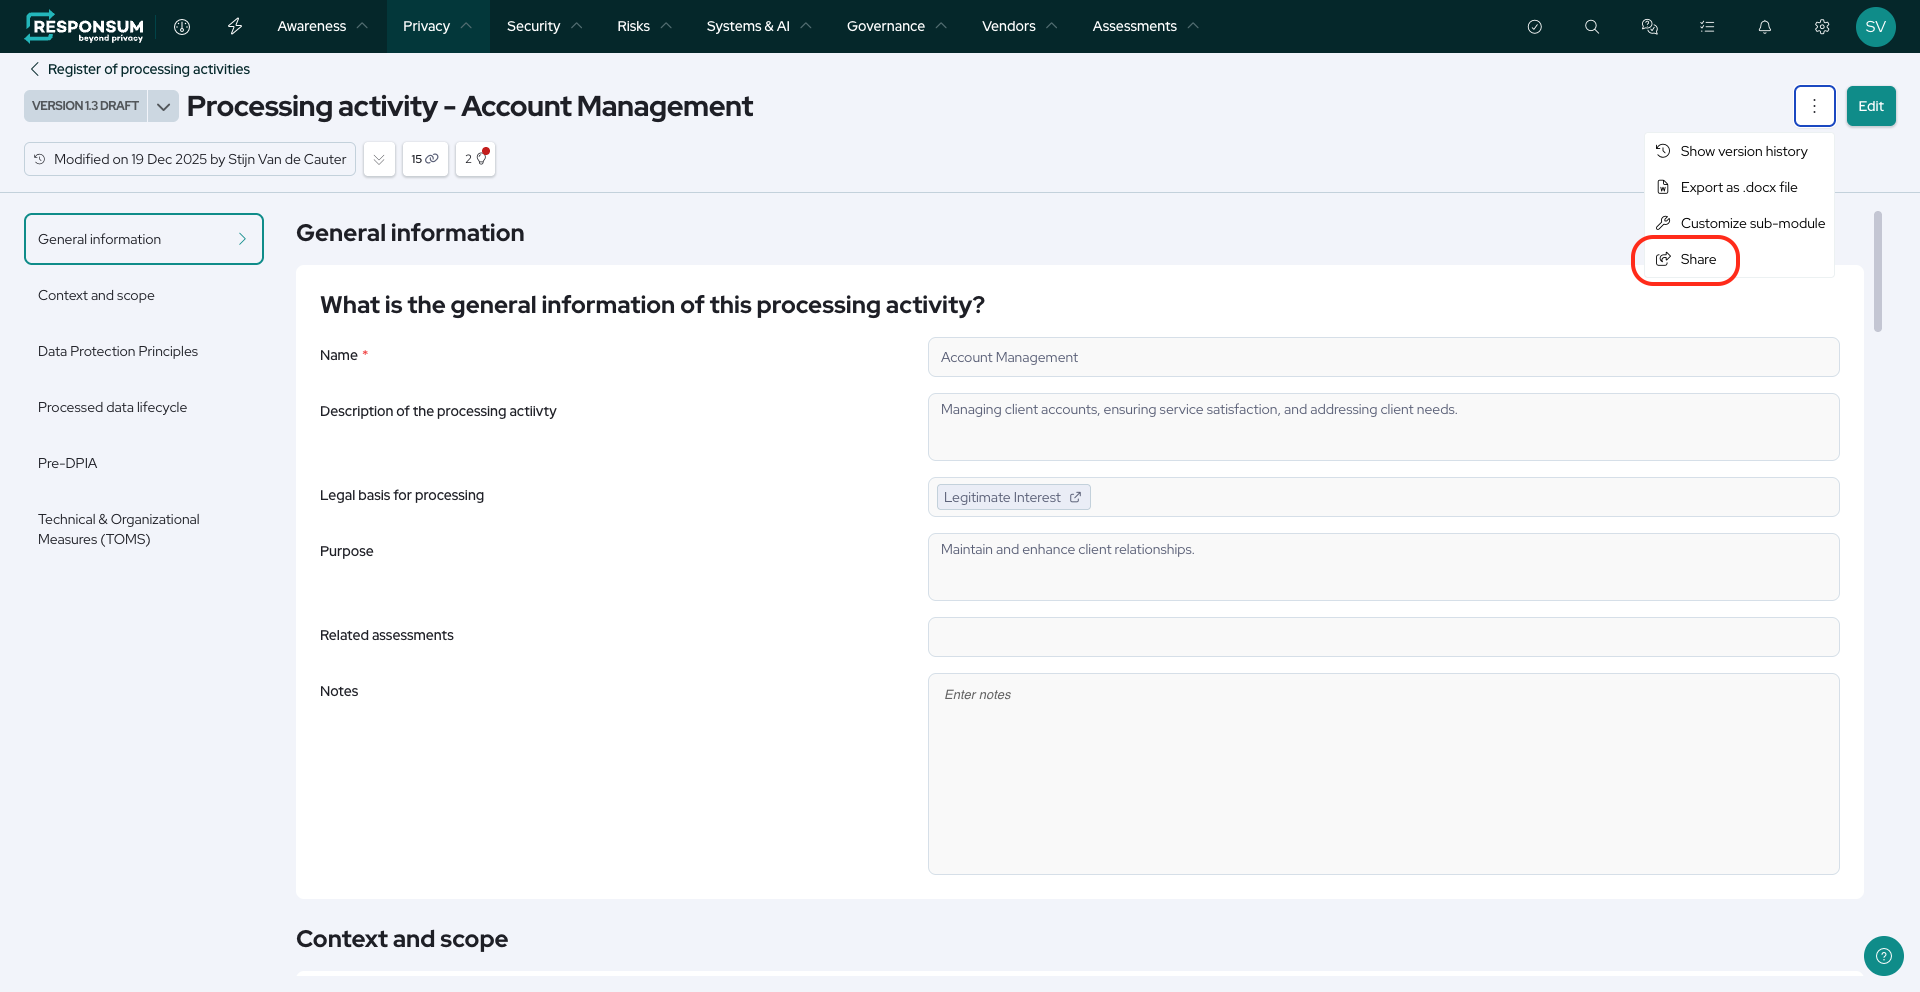
Clicking it opens a window showing all users the item has been shared with, their permission levels, and any expiration dates. (See the video on permissions.)
There are two ways to share items:
a. Direct Sharing
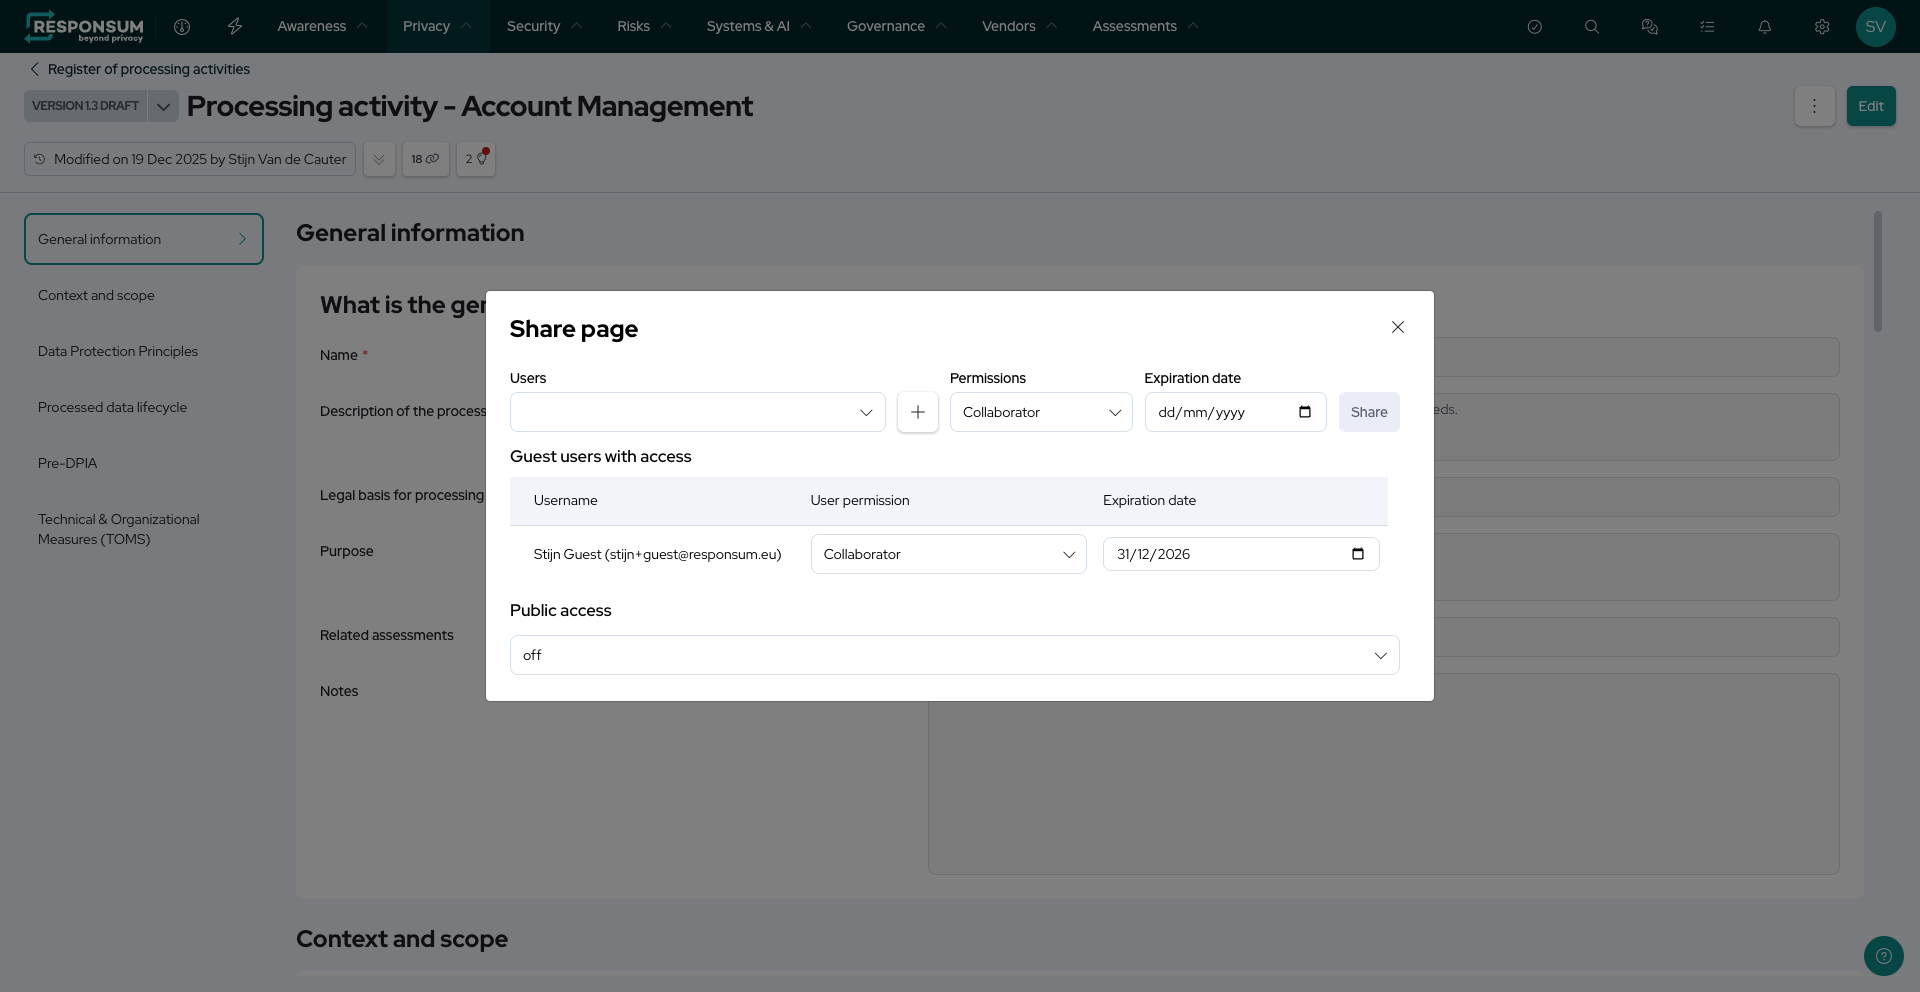
You can select one or more users from the dropdown at the top of the share window, set their permission level, and (optionally) define an expiration date. If no expiration date is set, access remains until manually revoked.
If you want to share an item with someone who doesn’t have a Responsum account, you can add them on the fly using the plus icon next to the user selection dropdown. Be sure to set the correct permission level and expiration date before adding the new user, as the item will be shared immediately with those settings.
b. Public Access
At the bottom of the share window, you’ll find the Public access option, which is disabled by default. This feature is useful if you want to share an item with multiple people via a public link. When enabled, you can choose the permission level granted to users who access the item through the link.

If you plan to use the Public access feature extensively, consider enabling self-registration for guest users. This allows individuals without an existing account to create one themselves. To enable it, go to Settings > Setup > My Organization, click on the top level of your organizational structure, and scroll to the Self-registration for guest users section. Here, you can enable the feature and specify allowed email domains. If no domains are listed, no users will be able to self-register. At least one domain needs to be allowed for this feature to work.
